


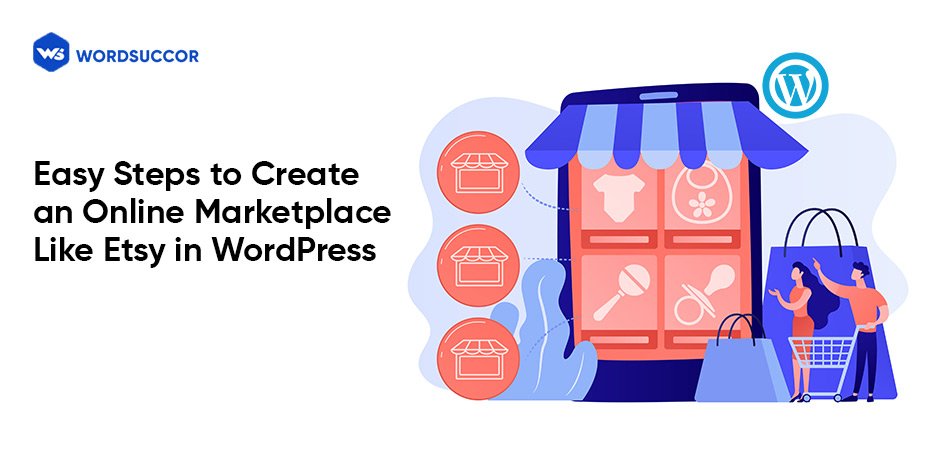
Easy Steps to Create an Online Marketplace Like Etsy in WordPress
Want to create an online marketplace on a platform like WordPress?
Or
Do you want to start an online store similar to Etsy so that your business can last a long time and reach new heights of success?
Online stores, often known as platforms or websites, allow sellers to create their own little digital stores to offer their products or services.
However, holding a strong position in this digital environment means challenging well-established platforms like Etsy.
Furthermore, developing an online marketplace is a difficult task that necessitates coding expertise, a qualified workforce, and resources.
To get your online marketplace site up and running, look for a WordPress development company. However, you should strive to follow the steps outlined below first to save time and money when hiring an agency.
So, let's look at how you can quickly create a marketplace similar to Etsy using WordPress and very little money.
Things Required to Begin a WordPress Online Marketplace
First and foremost, make certain you're utilising the appropriate WordPress platform.
Didn't get it?
WordPress is available in two options: WordPress.org and WordPress.com.
However, WordPress.org is the most recommended because it gives you access to all of WordPress's features and plugins right away.
For building a marketplace like Etsy, you’ll need the following:
- Relevant Domain Name
- Web Hosting
- Security Certificate like SSL
- WooCommerce Add-On by WordPress
- Additional Plugins
Let’s begin in detail!
Get in touch with us to build an online marketplace.
Steps to Creating Online Marketplace in WordPress
#1. Getting Your Ecommerce Platform Up and Running
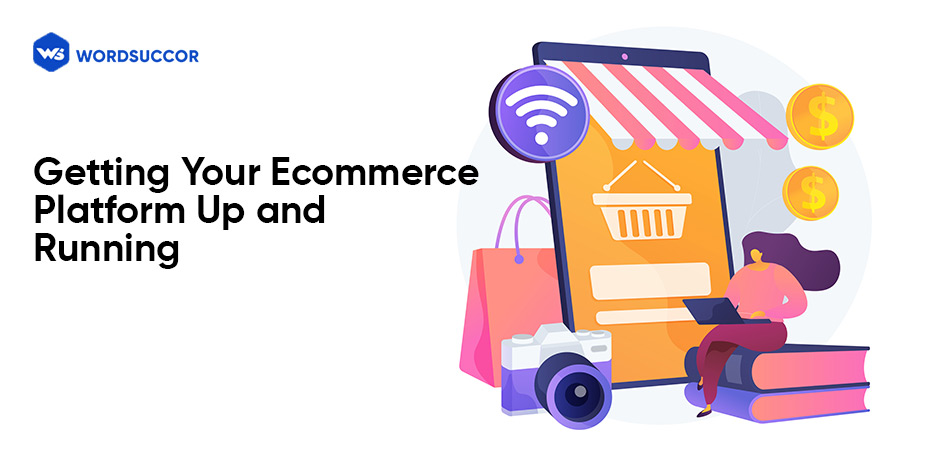
The first step, as previously said, is to obtain a domain and hosting account. You'll need more than simply web hosting to develop a marketplace on the WordPress platform. In simple terms, you should choose a hosting company that specializes in WordPress.
Web hosting, domain names, and SSL certificates can all add up to a lot of money over time.
Luckily, Bluehost, a reliable WordPress and WooCommerce hosting service provider, is currently offering users the domain names and SSL certificates for free, as well as discounts on cloud WordPress hosting. Isn’t it great!!
After you've completed the hosting purchase, you'll need to follow the crucial procedures for starting an online store.
#2. Transform Your WooCommerce Site Into an Online Marketplace
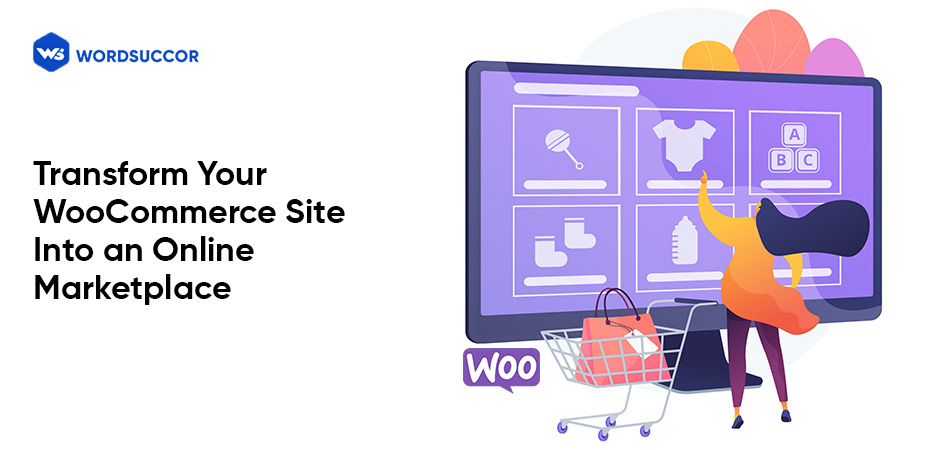
To begin, learn how to install and then activate WordPress plugins such as WooCommerce and others.
For instance, WC Vendors is a WooCommerce marketplace alternative. It is responsible for simplifying the process of creating an online website much easier by converting a WooCommerce website into a multi-seller site.
As an online marketplace owner, each vendor will be able to sell their goods while maintaining control over their website. Furthermore, you'll have complete control over your business concept, payment options, product varieties, and so on.
How to do so?
Follow these:
- After activation, go to the WC Vendors » Settings page to set up your marketplace.
- The general products will be displayed first. To enable users to register as Vendors on your website, ensure the ‘Vendor Registration' box is selected.
- After that, you can look at additional products and save your settings by clicking "Save Changes."
- The next step is to select the “Commission” tab to specify a fixed rate for merchants. This is the amount you'll have to pay the vendor after each sale.
This way, you can follow more steps to adding products to your page, setting the order related capabilities, and so on.
However, you can purchase premium add-ons if you desire a money withdrawal system for vendors. For instance, WooCommerce vendors provide add-ons like Manual Payouts, Escrow, and Stripe.
You will also need to build up the payment gateway by inputting the API keys, regarding the payment gateway you choose. However, remember to save the changes in the end.
#3. Activate Account Management
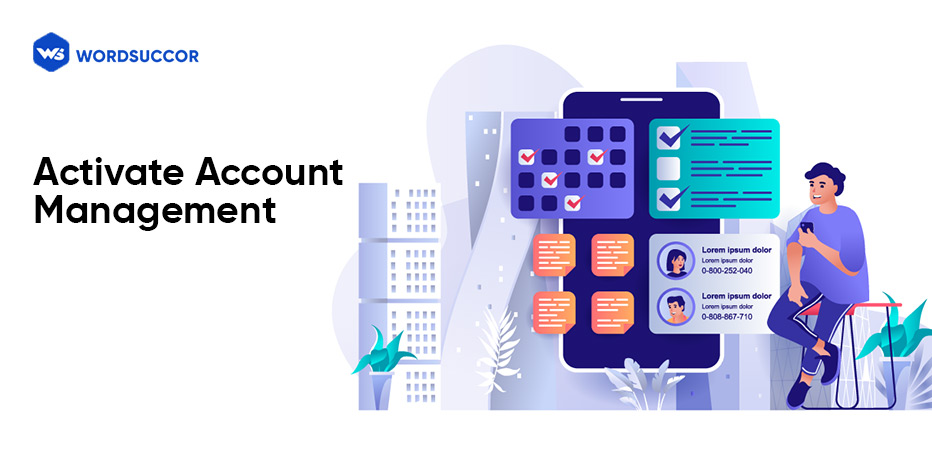
For this, visit WooCommerce>Settings and choose the “Accounts” tab. You can check the boxes adjacent to the client registration option right here.
In the end, save the changes that you made on the settings page.
#4. Set Up Navigation Menu
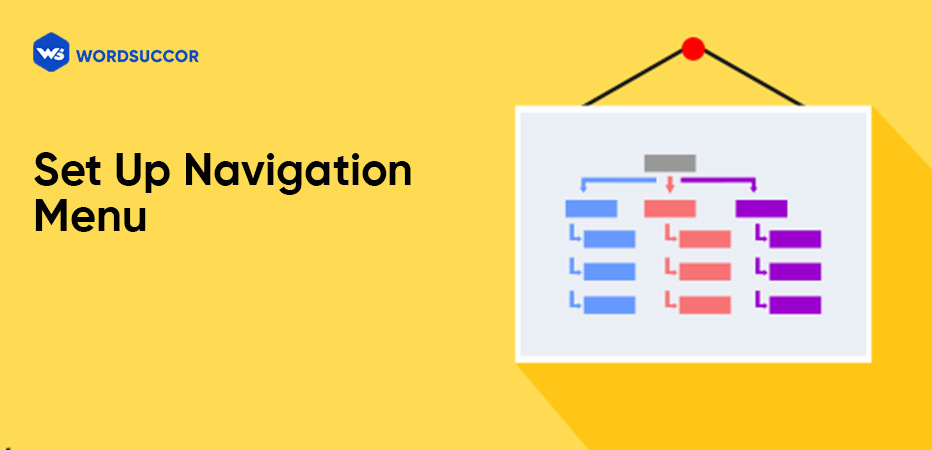
Now that you've completed the setup of a multi-vendor marketplace, you must make the website user-friendly.
For doing so,
- Visit Appearance>Settings page.
- Create a navigation menu for your user account and checkout pages.
- Save the modifications made.
If you don't already have a My Account page, just create one in WordPress and use the “woocommerce_my_account” shortcode.
Visit us to develop a website like Esty!
#5. Test Your Online Marketplace Website
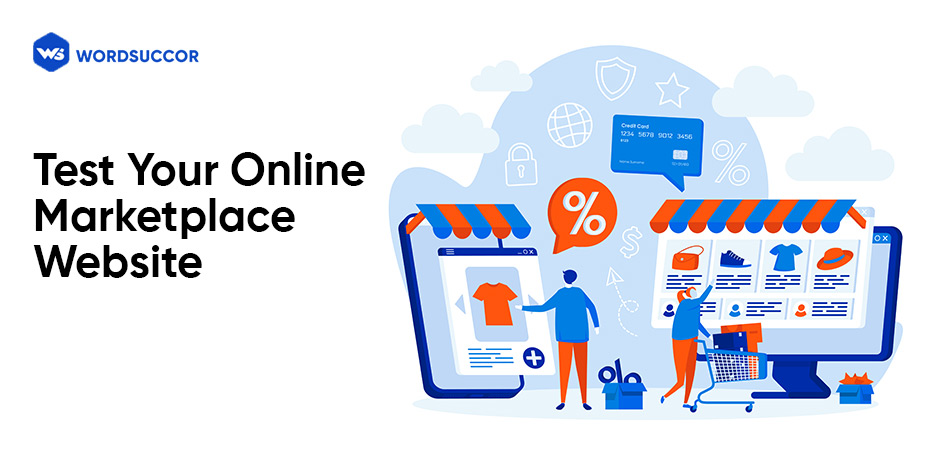
The website for your online marketplace is now available for testing. To do so, open your website in a private window and click the My Account tab at the top to create an account.
Both merchants and customers can log in with their existing accounts or create new ones here.
A notification on your email will be sent once you have set up a new account.
By going to Users » All Users, you may also see new vendor apps. All new vendor requests will be shown as pending, and vendors can decline or approve them by clicking on their usernames.
Vendors may quickly register and log in to their accounts, as well as add commodities or goods, leveraging the vendor dashboard. Also, they can look at sales and order statistics.
- The first step for vendors is to set up the shop settings by selecting “Store Settings” from the drop-down menu.
- They will need to submit their payment gateway email address to receive payments, regarding the payment options you chose. Furthermore, they can provide the account information to execute the direct payments.
- You'll receive an email notification and see an icon next to the goods menu when a seller introduces a new product. You can then update, accept, or delete a product.
As a result, the products offered by the vendor's shop name will be prominently displayed on your shop page.
#6. Focus on Online Marketplace Website’s Growth

You should start by selecting a layout for your marketplace site. There are thousands of free and premium WordPress themes available, but not all are eCommerce compatible.
Of course, you'll have to figure out which products are driving the most traffic and which sellers are attracting the most people. You'll need to activate customer monitoring on your website for this.
Pros of WordPress
- You get full ownership and grasp over the website.
- In addition, there are no limits to the number of features you can have, as well as new features and the ability to install extensions.
- You will be charged a small fee by your payment gateway. As a result, the price will reduce.
- Furthermore, you have complete control over how you add listings to your products in your store.
Book a free consultation with us now!
Wrapping Up
We've covered the fundamentals of installing WordPress, WooCommerce, and WC Vendors, as well as establishing the online marketplace.
All of these plugins may be used to create a marketplace and suit all of your eCommerce store's needs by allowing you to add as many products and items as you want.
Other types of marketplace websites that you may create include:
- Platform like Fivver
- Provide digital products like ebooks, online courses, videos, and so on
- Events marketplace
With this business strategy, the possibilities are truly endless.
If you have problems following or comprehending these processes, you can hire a custom WordPress development company to do everything for you
Hope you find these steps and guide in creating a reliable online marketplace like Etsy in WordPress. If you have set up any marketplace site then let us know in the comments section given below. Thanks for Reading!!