


7 Exclusive Reasons to Go for WordPress Multisite Feature and Here’s How?
About 60 Million websites use WordPress.
Indeed, it is undeniably a very powerful and flexible Content Management System that has been in the mainstream for years. Managing multiple websites with a single WordPress installation can take the burden off your shoulders right away.
Surprisingly, about 50k websites are added daily to WordPress
This flurry of websites being added to the database definitely calls for awareness of the WordPress multisite feature. The users don’t have to install WordPress multiple times to create and handle more than one website.
“Going digital’ can be complex. What can add more complications to the process is the lack of multitasking. To tackle the same, WordPress multisite setup would surely help to lock in the possibilities and will also save you time.
What is WordPress Multisite Feature? Why use it?
Before we hop on to the advantages of this feature…
There are 46+ million downloads of WordPress.org and added 336 themes
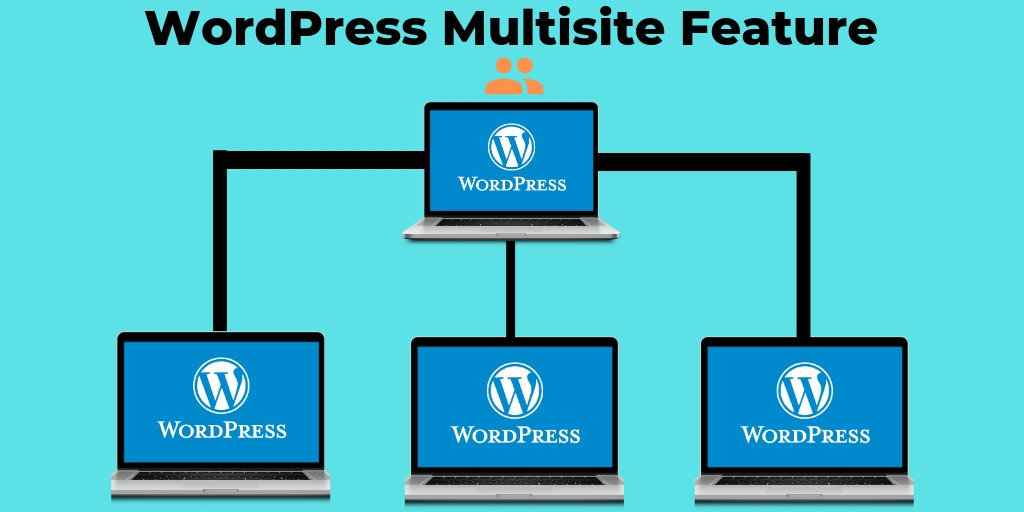
Additionally, Multisite WordPress is a feature that allows a user to run multiple independent websites from a single codebase without having to create many websites installing WordPress many times.
Above all, a multisite WordPress setup is a no-brainer. There’s no limit to websites or blogs that can be hosted and managing as many as you want without having to log in and log out the panels saving you a ton of time.
7 Exclusive Advantages of WordPress multisite are:
1. Highly Scalable:
To a large extent, this feature makes it a breeze to handle and support blogs according to the requirements as compared to general installation.
2. Apt User-Roles:
WordPress multisite network platform makes it possible to assign user roles as needed- let it be Super Admin or Network Admin. Assigning these simplify processes.
3. Default Plugin Activation:
Fortunately, similar plugins remain installed within every website for hassle-free management.
4. Automatic Updates:
All it takes is the network activation of all themes and escape individual settings for each website. Websites will automatically use it when activated.
5. Multi-Plugin Activation:
Activating a plugin on all sites is as easy as ABC. Use only the “Network Activate” plugin under the “Super Admin” role of the panel. Thats it, the plugin is activated multisite-wide.
6. ‘Load-less’ Servers:
You simply save your server from an insane amount of load through the single installation when you use WordPress multisite vs. multiple sites.
7. Search- Engine Friendly:
There is absolutely no impact on the SEO of individual websites as SERPs consider individual websites as ‘single website’ only.
Why is CDN necessary for the Multisite network environment?
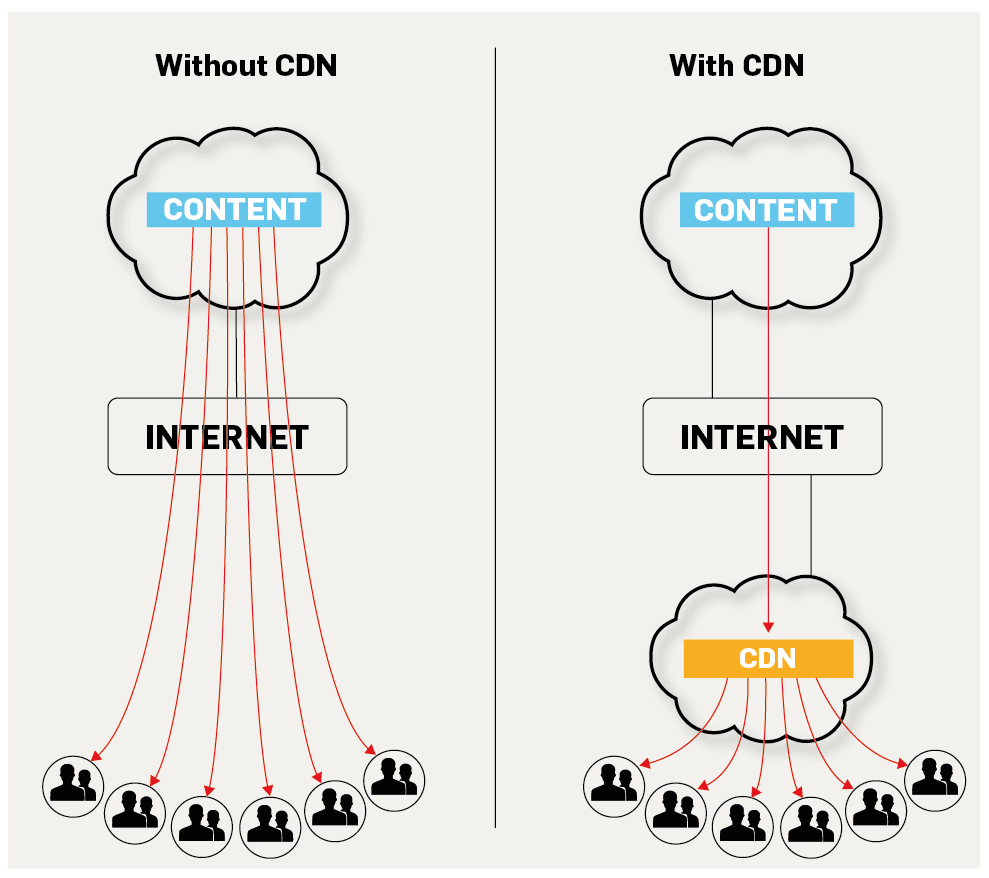
Since you have a single ‘WordPress installation’, so, you just need to spend money on one CDN (Content Delivery Network) package. Do you know that- CDN in a website optimizes website loading speed with the help of distributed content delivery servers based on geographic location of the website users.
1 out of 4 customers will abandon a webpage that takes more than 4 seconds to load… (Source)
So, do not compromise while buying the most secure and reliable CDN for your websites which should not only boost website but also protect it. Not only multisite “sites” need CDN, but, any WordPress website can have it. That is to say, it makes the website super speedy and delivers the content to global website users.
How to enable WordPress Multisite Feature in your admin panel?
And we are sure that you will love what you get after the successful upgradation to WordPress multisite feature. If you are a novice at technical stuff, you can hire an expert company for WordPress multisite development services, to not to screw things up even more.
Is it a cakewalk to enable this feature on WordPress admin panel?
Well...let’s have a look at the steps.
1. Choose one option:
First things first, you have to make the decision to choose one type of multisite WordPress setup for your use between these two:
- Subdomain Based URL structure: https://www.example.com/somesites/
- Subdirectory Based URL structure: https://www.example.com/somesites/
It makes complete sense to know about both of the above types before you decide upon one. As you might have noticed, the difference lies in URL types or structures. Here’s a suggestion: To make sure that SEO of WordPress websites is not affected, it’s a great thing to go for Subdomain based URL as it will not make it harder for Search Engines to identify different websites made on one multisite network environment. Try to skip Subdirectory based URL structure at all costs.
2. Some copy pasting works:
Paste the line
define( 'WP_ALLOW_MULTISITE', true );
in wp-config.php file just above this line…
/* That's all, stop editing! Happy blogging. */
Save the file.
3. Setting up Network:
This is a very important step. You need to deactivate all your plugins that have been previously activated. Go to Installed Plugins directory in “Plugins” and deactivate each of them by bulk select option.
Now, go to Network Setup in “Tools”. Do you remember, you chose one of the two types of multisite setup URL structures?
Just click on the one that you deem fit for your needs when prompted. Your Network will need a title and email address. You are good to go for “installation”.
4. Activation:
Soon after the process, you will be taken to a screen to activate multisite WordPress installation with enabling network option. wp-config.php and .htaccess files need to be edited according to the instructions as you proceed further. After you save edited files, you will have all new multisite dashboard with minute differences.
Further Steps:
1. Add new sites
2. Add themes
3. Add plugins
4. Configuration of network settings.
5. New Site settings
6. Upload Settings
7. Language Settings
Conclusion:
So, we talked about not only the features and benefits of upgrading to WordPress multisite but also a step-by-step process to enable it. Leverage complete benefits of WordPress and save a ton of time with this exclusive tool for webmasters of the CMS.
You should not forget to use plugins that will help you do so much more with multisite feature. Domain mapping is another important aspect. Keep experimenting and you will start to love the whole platform all the more.