


Impress your Mobile Site Users with WordPress AMP!
When “80% of internet users owns a smartphone” it’s a must to use any WordPress AMP plugin like AMP for WP or a theme to speed up your website. You should be conscious that the potential of mobile version of your website may still be untapped if you still haven’t activated Google AMP on your site.
Pondering over ways to make WordPress website faster and flexible to mobile can be very tricky. Fortunately, there is a combination of WordPress-AMP that can actually make all the difference.
Why Setup Google AMP on WordPress Website?
You may be thinking in the first place about why setting up AMP in your site is all-important?
How it works?
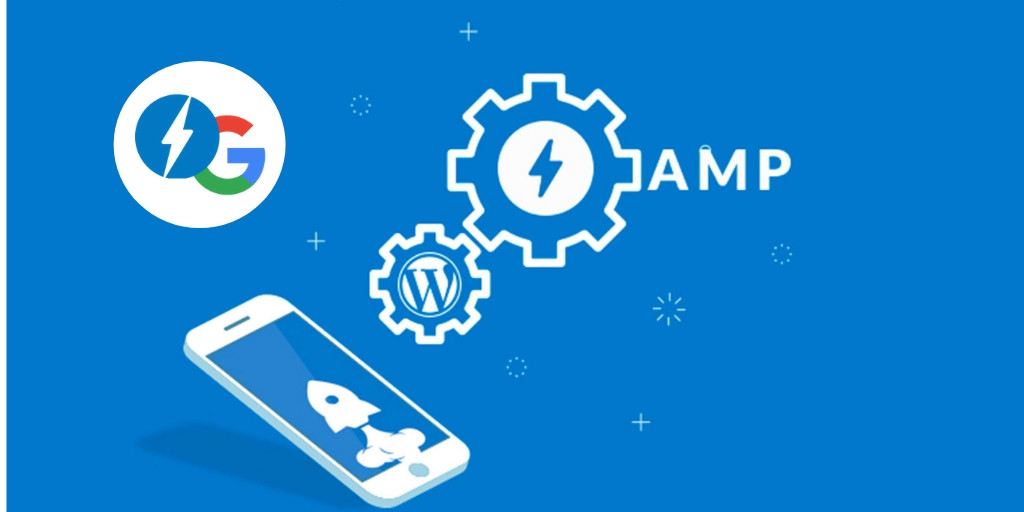
AMP- stands for Accelerated Mobile Pages, a bunch of lightweight frameworks and extensions working with one another to deliver web pages almost instantly when a user takes an action on the mobile website. It’s free, open-source and uses minimalistic HTML, JS, CSS as well as cache libraries for functioning. AMP works by accelerating audios, videos, infographics, PDFs, text, elements etc. on a website mobile page for slower internet connections. We can call it a “strong point” of Google AMP that it doesn’t ignore media elements on a page while speedifying it.
Favorite among most of the website owners, AMP pages are uncomplicated and users find it easier to get a hold of any page in a matter of moments. It’s a bonus if you are keen on hiring an agency for WordPress optimization service and want to bring things on your side.
To help you convince even more, let’s dig into some more statistics...
“As of March 2017, 80% of top Alexa websites were mobile adaptive”and
Just a ‘1 second delay’ is enough to make matters worse in terms of customer satisfaction.
Benefits of AMP for every website:
- Heightens usability level
- Adds to content engagement
- Accelerates and simplies pages
Your Step-by-Step Guide to Configure Google AMP for WordPress:
Delving deep into the technicalities of AMP configuration in WordPress to your website may need a hand. We have dedicated this article to help you configure AMP on your website with ease.
1. Install Google AMP plugin:
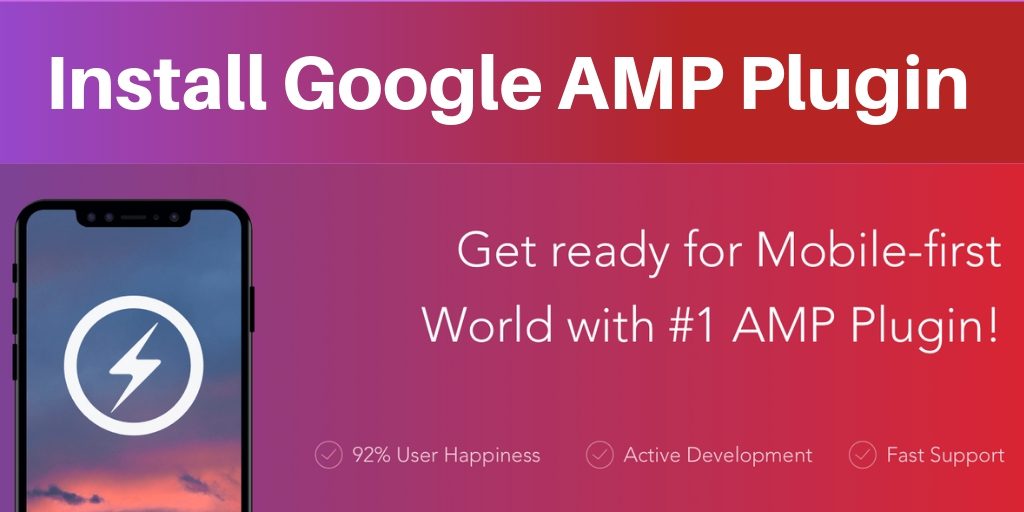
We believe that you are using self-hosted WordPress.org version to create a WordPress site. You don’t get the privilege of installing plugins in the free WordPress.com site. Go to ‘Add New’ to ‘Plugins’ Section in Admin area.
Choose Google AMP from directory (since it is a free plugin, you will find it here) and click on ‘Install Now’. On ‘Installed Plugins’, go to ‘Activate Now’ option of this plugin. Alternatively, you can install any plugin using FTP.
To fuel your curiosity...you can click on Appearance in the admin panel to view how AMP pages will look like.
2. Launch the AMP page builder:
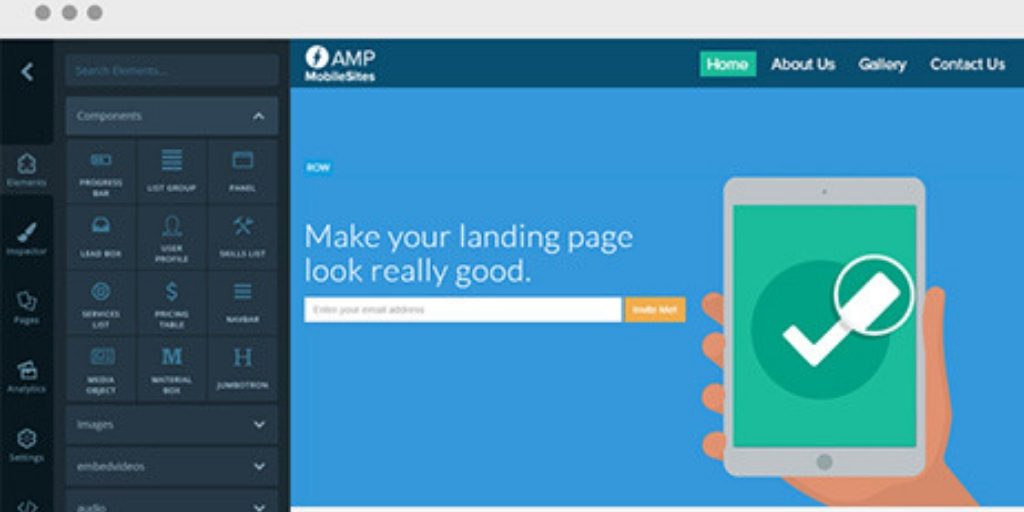
Go to ‘Pages’ and you will see your usual window area where you generally create pages for your WordPress site. To create an AMP-enabled page for smartphone users, click on ‘Start the AMP Page Builder’. What appears after it are an array of options that you can include in your page layout and design.
AMP PageBuilder 3.0 has many added options such as Gutenberg Support, Default Theme for AMP called Swift, 3 Pre-built AMP Layouts for Business websites and landing pages, One Signal Push Notifications integration and so many other robust features.
Choose options according to your requirement on this intuitive window pane to build your AMP accelerated page. You can preview the page as you build it in local
3. Add Features with AMP:
Creating “Feature” posts with a plugin has never been so easy. As many features can be created and built using this plugin and thus creating an impression on your users with organised posts on a mobile page. There is no limit on the number of feature posts you can show on a page of your site.
The best part is it is easier than ever before to create the “features” with images and heading as well as text. Preview your page as you move ahead to make sure that things look perfect.
4. Pre-built AMP layouts:

In the previous step, we talked about how you can create your AMP accelerated page from scratch using an AMP plugin. However, there are some easy ways which are a no brainer. WordPress website optimization has never been this easy when you have Pre-built AMP layouts with a ‘Layout Directory’. Click on it and you will see a default theme “Swift” that will add to ease and hassle-free building of pages of your website. Tab on “View Layout” and you will view a pop-up with:
- Replace current layout option
- Import new layout option
Layout includes different styles of pages that can be edited with ease.
Final look out at the AMP pages you just created:
It is quite exciting to see how your AMP pages are doing in the SERPs… but wait for a few minutes until your pages of your website are indexable by Google after you freshly created them to boost optimization to another level.
What you need to do is to log in to your Google Search Console (A Google Webmaster Tool) dashboard and go directly to AMP in Search Appearance.
The Pros of using AMP for WP are the ease of creating pages in a very short time as well as a plethora of customization options that come with the updated PageBuilder.